
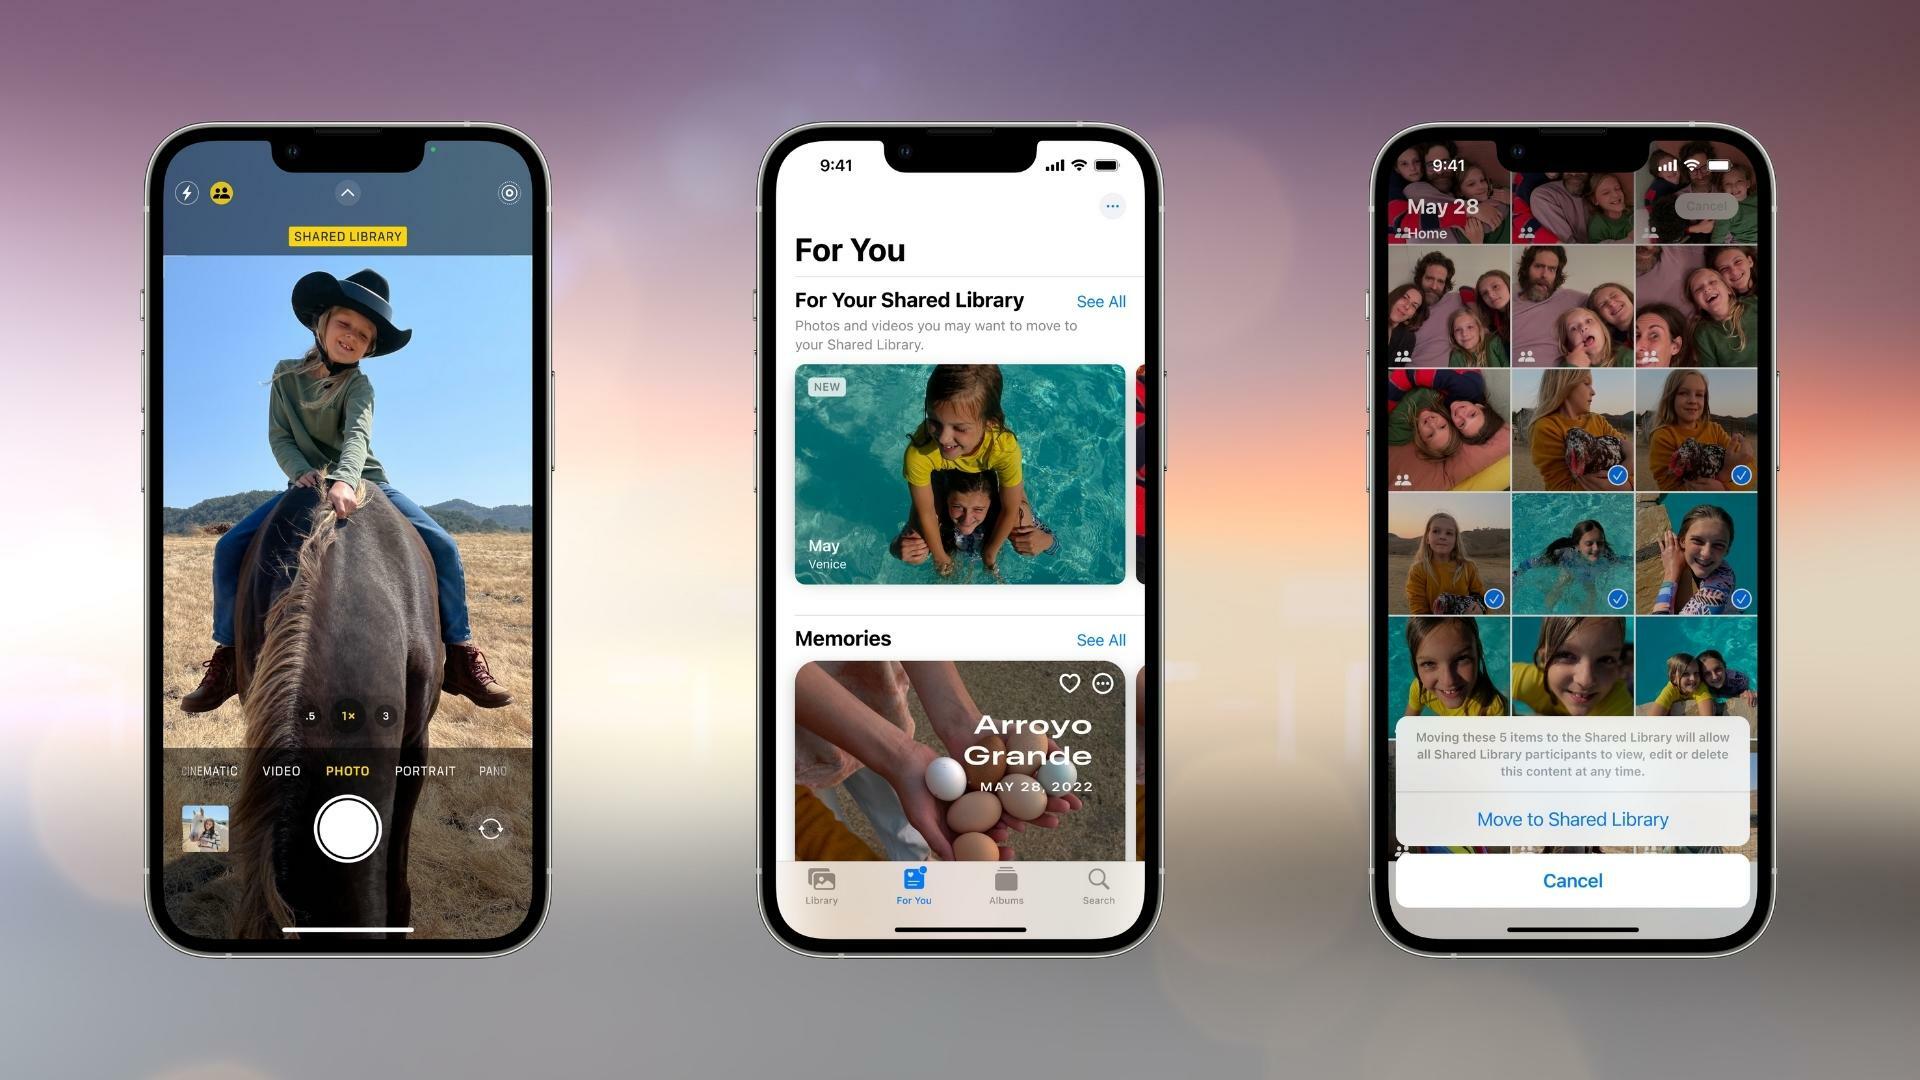
You know about Shared Albums, but the latest iPhone software update comes with iCloud Shared Libraries. With Apple‘s iOS 16, users can create an entire library to share with friends and loved ones.
How is a Shared Library different from a Shared Album? There are a few different ways. With a Shared Library, you can take photos and videos directly into the shared space without going through the extra process of adding them to an album. Also, all participants have equal access to adding, editing, and deleting photos and videos.
Last but not least, the Shared Library feature is smart, which means you can set it up to automatically recognize photos by people or dates, and it offers suggestions for what to share. Essentially, it’s a fun feature that makes sharing photos that much easier.
Here’s how to set up the iCloud Shared Photo Library with iOS 16.
1. To get start, open Settings then Photos
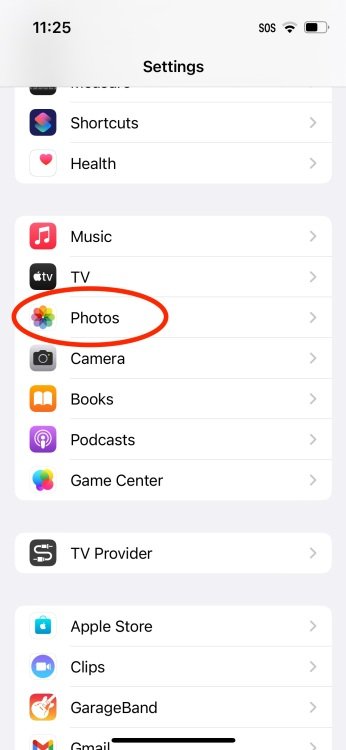
Credit: Screenshot: Apple
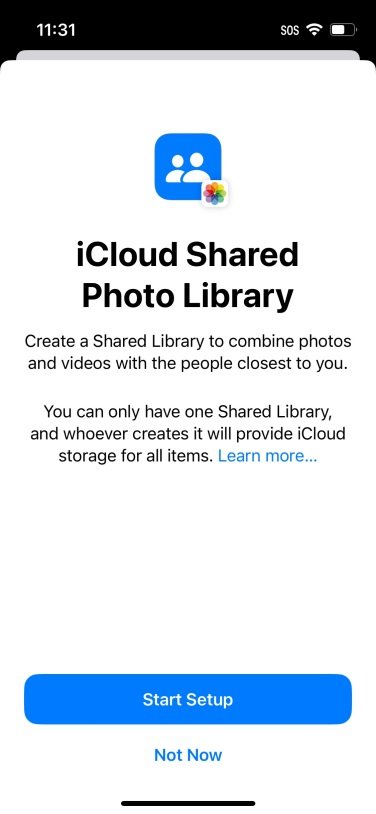
2. In Photos, tap Shared Library to start the setup.
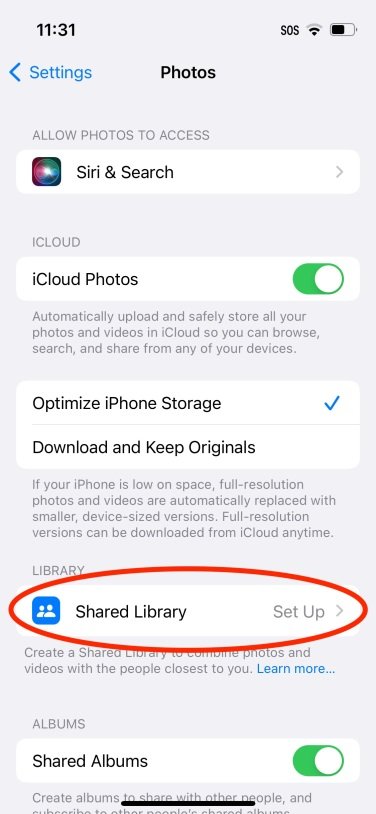
Credit: Screenshot: Apple
Credit: Screenshot: Apple
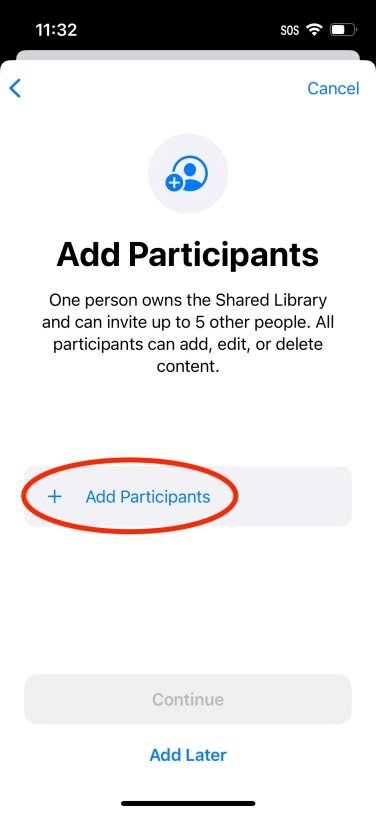
3. Add participants
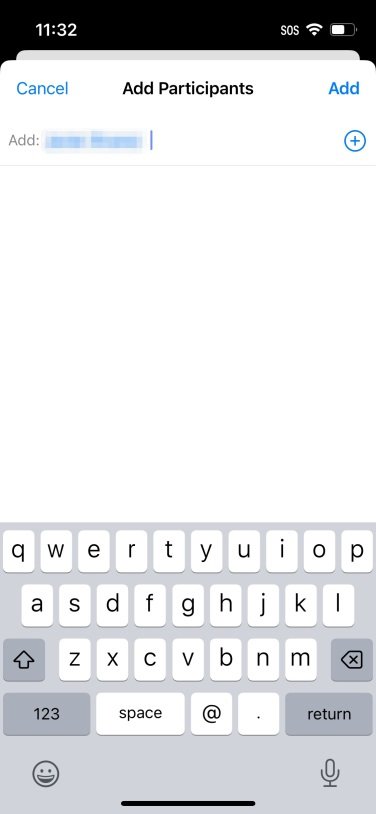
Tap “Add Participants” to invite people you want to share your library with. This will take you to another screen where you can add people by typing in their name.
Credit: Screenshot: Apple
Credit: Screenshot: Apple
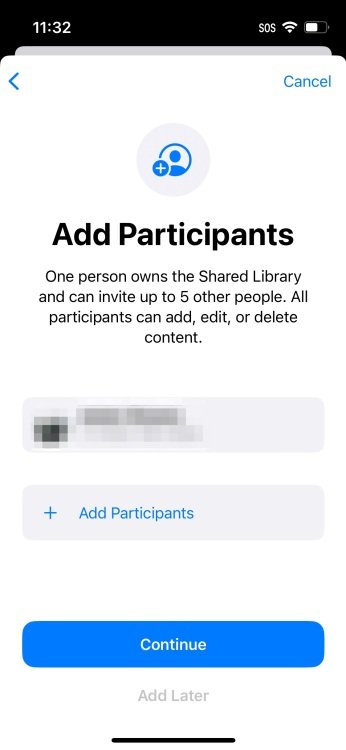
Once you’ve added the first participant, add more by tapping “Add Participants” again. You can add up to five people to share with. When finished, tap “Continue.”
Credit: Screenshot: Apple
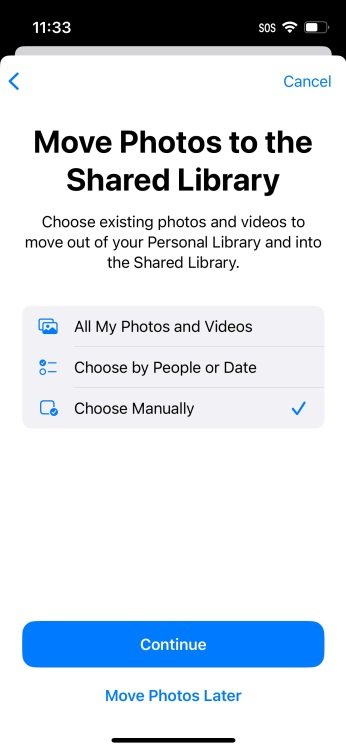
4. Select how you want to transfer photos
The next screen will offer you three different options for which photos should go to the Shared Library. Once you choose an option, you’ll be able to preview how it will look, so you can go back and change it if you decide you don’t want to make your entire library accessible to everyone.
Credit: Apple
-
All My Photos and Videos
This will move everything in your Personal Library to your Shared Library.
-
Choose by People or Date
Maybe your Shared Library is for sharing photos of your kids or dog with family members or going on vacation with a group of friends. This option allows you to include photos based on specific people (or animals) in the photos or specific dates.
-
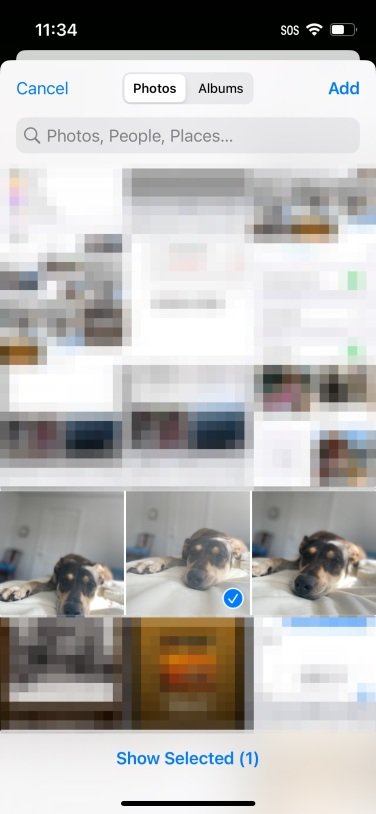
Choose Manually
Manually select any photos you want to bring into your Shared Library.
Credit: Apple

Credit: Apple
Tap “Preview Shared Library” to see how your photos will look (or you can just hit “Skip and Continue” to skip the preview.) If you’re happy with the preview, tap “Continue” to finish the setup.

Credit: Apple
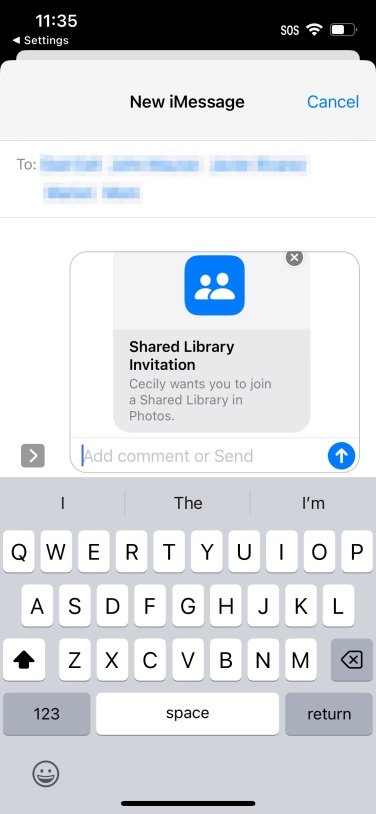
5. Send out the invites
Once your Shared Library looks good-to-go, it’s time to share it. Tap “Invite via Messages” to sent the invite in a group message to all of the participants, or “Share Link” to copy the link and share it another way.

Credit: Apple
Credit: Apple
6. Choose your camera settings
Once you send out the invitation, you’ll be asked about a setting called “Share from Camera.” If you are within Bluetooth range of participants, any photos or videos you take will automatically go into the Shared Library. Tap “Share Automatically” to turn this on or “Share Manually Only” to keep it off.

Credit: Apple
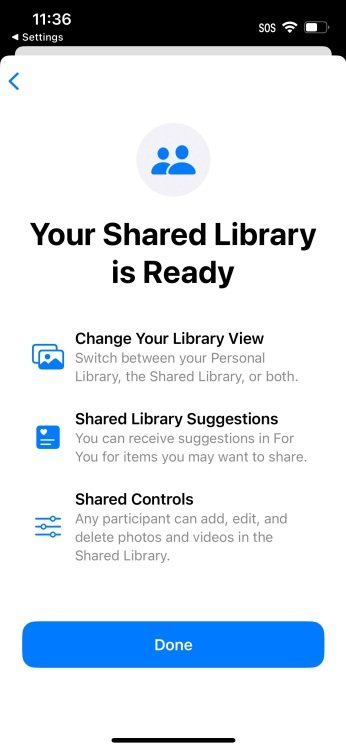
Tap “Done” on the next screen, and your Shared Library is ready. On this screen there are some additional details about how it works.
To switch between your Personal and Shared Library, tap the setting at the top of the screen when using your camera. To turn on Shared Library Suggestions, go back to Settings, then Photos, then Shared Library. Here you’ll also find options for adding or deleting participants, turning off/on Sharing From Camera, and deleting the Shared Library.
All participants can add, edit, delete, and organize photos and videos by using the select tool and the three dots icon, just as you would in a Personal Library. And now you have a Shared Library, enjoy responsibly.
Credit: Apple